Recipes for Play
Explore All Things South Dakota
June 1, 2026
Today, we are featuring a science project and an art project all in one. Get ready to spark your imagination just like you do when you are playing along with us in person at the Children’s Museum of South Dakota!
We are in the Maker Studio with Teacher Lauren as she teaches our Group Reservation Coordinator Charles about a super cool art project that you can do at home. In the Maker Studio, we love to explore, ask questions, and spark learning. Here’s a project you can do at home exploring process art with water and oil.
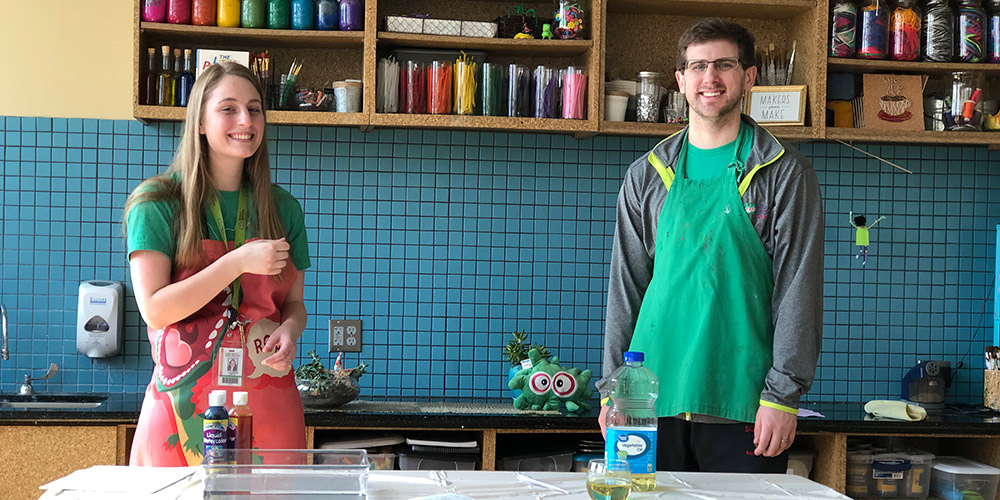
Fill your container or deep cooking pan with water. Add the dye, watercolor, or paint to the container and stir. Be generous with the color, the more the better!
Either by using the pipette or straw, transfer small amounts of oil to the tray of water. If you’re using a straw, place one end into the oil, put your thumb over the top of the straw, and then lift. The oil will stay in your straw! Release your thumb when you’re ready for the oil to drip out of the straw and into your water. Explore how you can make different sizes of oil spots in the water.
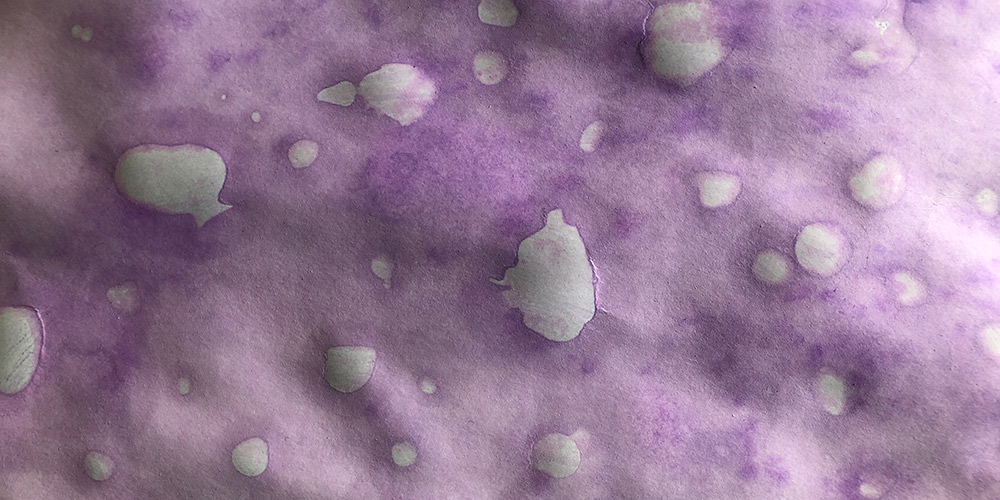
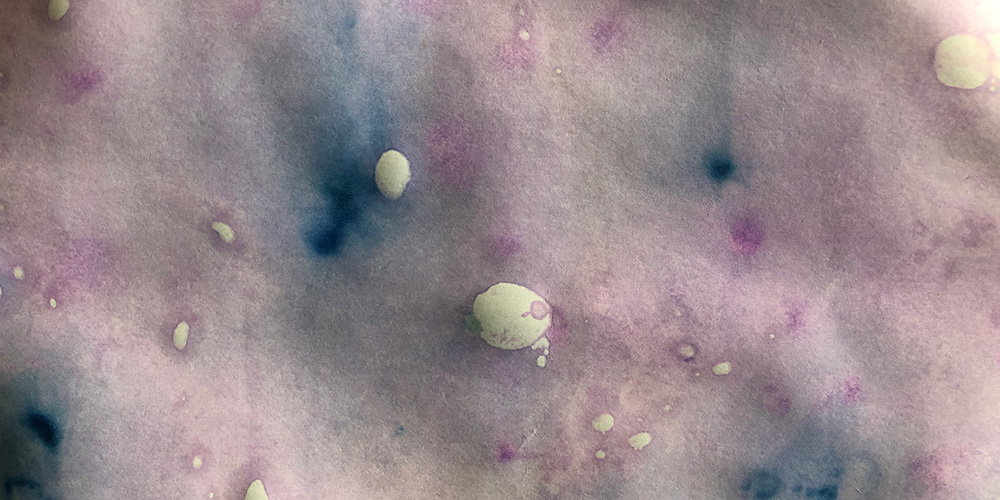
Place your paper on top of the water and press down until it is completely submerged. Then lift your paper out of the water and hold it over until the excess water has dripped off.
Lay your artwork out to dry, the color should darken as your paper dries.
Repeat this process using the same water, exploring different amounts of oil, or adding more colors.
• Do you notice how the oil is staying on the surface of the water? That is because oil is less dense than water! The molecules that make up water are packed in tighter than the molecules that make up water.
• Why didn’t your oil and water mix? Oil and water don’t mix because they are non-polar. That means the molecules that make up water and the molecules that make up oil push away from each other.
We hope you enjoyed this fun experiment and can’t wait for you to play along with us at the Museum soon!