Make Your Own Ice Sculpture

Back

Make Your Own Ice Sculpture

March 3, 2021

Share This
Share This

Create your own frozen art with a few simple tools!

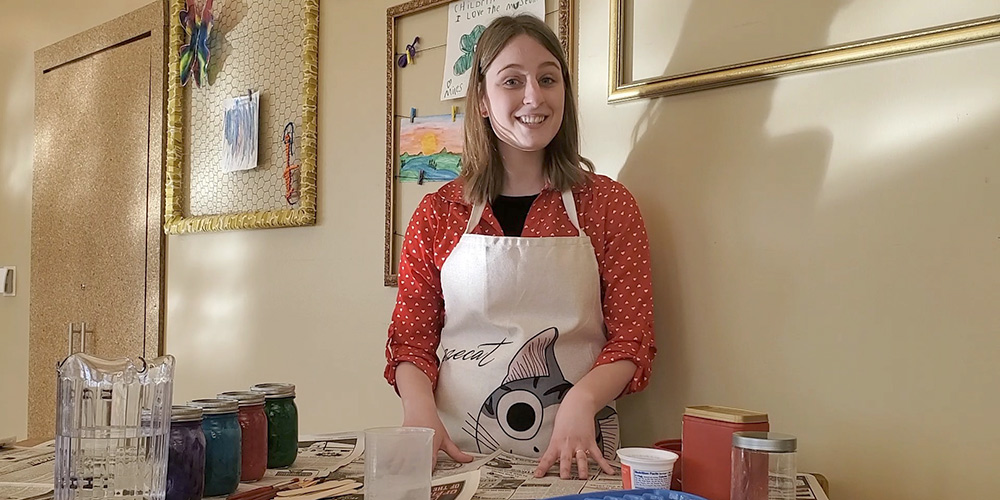
Have some frozen fun. Follow along with these step-by-step instructions.

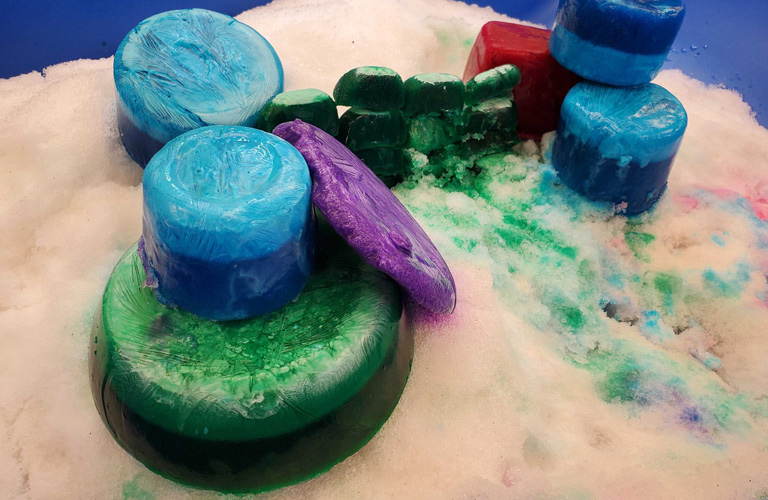
The glistening of ice in the winter sunshine offers a naturally beautiful aesthetic. Imagine transforming that ice into your own one-of-a-kind sculpture!

With just a few recycled materials, some paint, water, and your creativity, you’ll be crafting pieces of art in no time.   

Not only is this hands-on activity fun and exciting, but it can also strengthen problem-solving, decision making, and motor skills, too

Play is such a powerful learning tool!  

Let’s Get Started!

Materials:  

  • Washable paint (food coloring can be used as an alternative) 
  • Tools to stir with (popsicle sticks, paintbrushes, you choose!)  
  • Water  
  • Containers to mix the paint/food coloring and water together  
  • A variety of molds to make different ice shapes (like ice cube trays, ice-cream containers, yogurt containers, bowls, and drinking glasses)   
  • A plastic, empty water bottle  
  • A push pin  
  • Newspaper OR a plastic table cloth to protect your workspace  
Blue, green, and purple ice chunks arranged in a sculpture.
Arrange the colorful ice in whatever way pleases you! Use your imagination.

Directions:

  1. First, place a newspaper or plastic table cloth over your workspace to protect itFor this step, you will be mixing paint and water together to make different colorful mixtures to pour into your ice molds. Note: It takes a small amount of paint to color the water  
  2. Pour your paint and water mixtures into your chosen ice molds. Next, they will need to freeze into iceIf it is below freezing, place them outside to harden or you can set them in your freezer.
  3. Using a push pin, poke a small hole through the center of the cap on your empty water bottle. Fill the bottle with water and replace the cap. Notice that when the bottle is held upside down and squeezed, water will come out through the hole. This will help you “glue” your ice pieces together while you build 
  4. When your ice is ready, set the molds inside to thaw for a few minutes so the ice can be popped out (running hot water over the outside of the molds helps speed up this process!)  
  5. Now it’s time to build! The best material to build on is snow, so continue this project outside (If it’s too cold, you can also bring a plastic container filled with snow inside.) Use the water for your water bottle that you prepared in step 3 to help you “glue” your ice pieces together to form a three-dimensional sculpture. We encourage you to use both warm and cold water to see which works the best.  

We’d love to see how you build with ice. Find us on Facebook, Instagram, and Twitter and share your creations with us using #playalongsd