Recipes for Play
Explore All Things South Dakota
June 1, 2026
Sensory bottles are not only beautiful to look at but they are also helpful tools when we need some extra help calming down.
Sensory bottles are often referred to as calm down bottles. Why you ask? Well, when you shake a sensory bottle filled with glitter, it can be mesmerizing to watch the glitter move around. And while you are watching it can calm your breathing and give you something to focus on.
Sensory bottles are typically filled with glitter, but they can also include different objects and/or liquids that can be shaken up and observed at different angles. As the user of the sensory bottle focuses on the objects or liquids as they move and settle within the bottle, it may help create a feeling of calmness.
There are so many ways to make sensory bottles, and the best ones are made from materials found around the home.
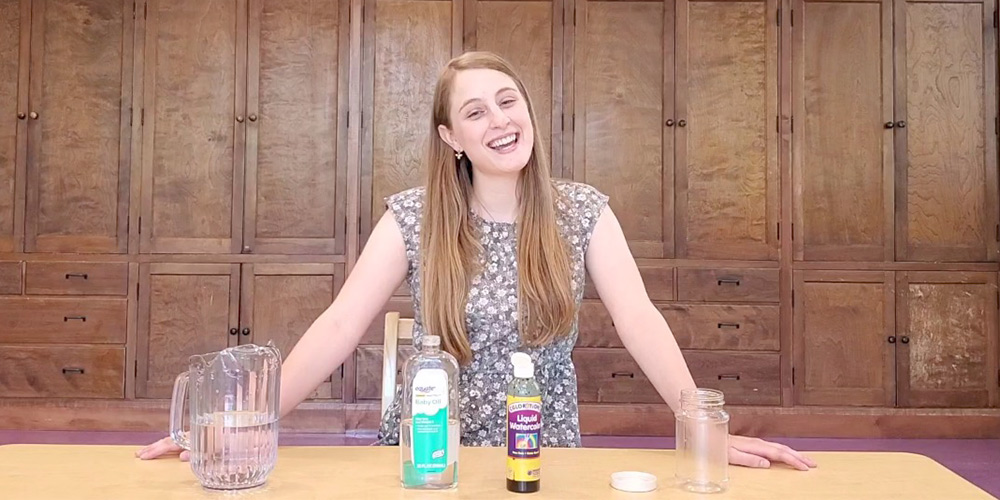
If you’d like some inspiration, Lauren can tell you all about it in the following video. Or you can find three different sensory bottle recipes below!
Let’s get started!
First things first, find a clear, empty bottle to use. If there is a label on the bottle, soak it in warm, soapy water for 5 to 10 minutes. The label should easily scrub off.
Shake this sensory bottle and you’ll be able to watch the glitter dance and swirl. The secret to this bottle is clear glue, which helps the glitter stay suspended in the water longer.
What you’ll need:
Pour the glue into the bottom of your chosen container. Add warm water almost all the way to the top and then add glitter. Glue the lid onto the container and cover the lid with boxing tape to secure the seal.
Want to add a little science to your sensory bottle? Shake it up and slowly watch the liquids settle and separate. Have you ever wondered why water and oil don’t mix? It’s all about their molecules. Water is polar while oil is non-polar. This means that they naturally repel each other.
What you’ll need:
Place a few drops of liquid watercolor or food coloring into the bottom of the container. Then fill the container about halfway with water. Next, fill the rest of the bottle with baby oil. Glue on the lid and cover it with boxing tape to secure the seal.
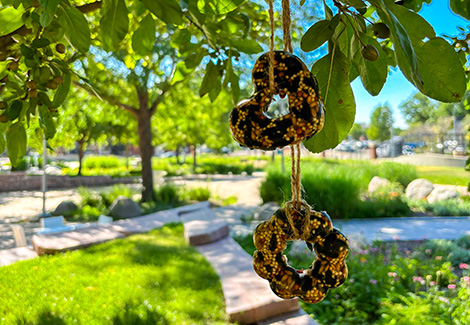
This last sensory bottle recipe requires a bit of adventuring. Go on a nature walk and gather some interesting finds. This could be leaves, sticks, sand, seeds, or maybe some interesting looking rocks. Add those into a sensory bottle and observe nature up close!
No need to add liquid to this bottle, just seal it and inspect away! Note that you might not want to seal this sensory bottle. That way you can swap out nature materials later.
Have fun building your very own sensory bottles. If you’re able to do so, share your creations with us! Be sure to tag us on Facebook or Instagram and use #playalongsd. Have fun!