Recipes for Play
Explore All Things South Dakota
June 1, 2026
Holiday Hours: We are closed on Saturday, July 4.
This activity is a great way to “bring the Museum home”! Grab your supplies and play along.
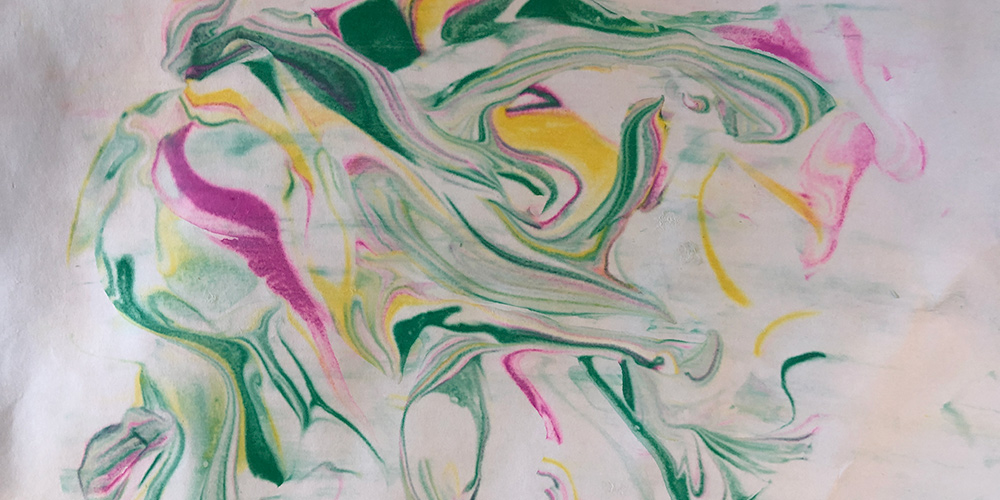
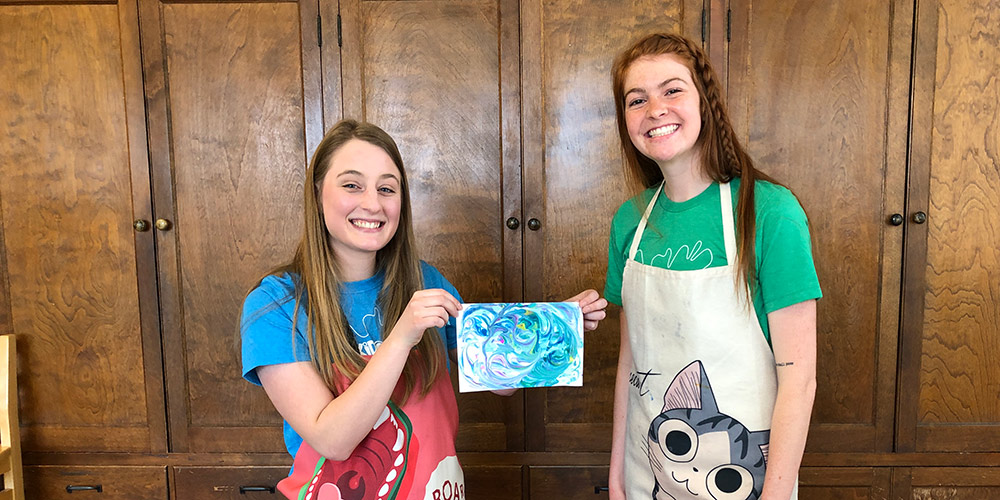
At the Children’s Museum of South Dakota, we love making art using a variety of tools and materials. Today, we are featuring something that might be found in your bathroom cabinet: Shaving cream!
• Sturdy paper
• Small tray (a shallow baking sheet or plate will work too)
• Food color OR liquid watercolor
• Shaving cream (foam not gel)
• Pipette or straw
• A couple of popsicle sticks OR sturdy pieces of cardboard
• A fork
• A couple of pages of newspaper (lay these out flat on one side of your work station)
• A covering to protect your workspace from spills
• A place to dry your artwork
1. Spray shaving cream into your container, notice how the shaving cream foams up quickly after leaving the can.
How does the shaving cream feel? Does it feel more like a liquid or a solid?
2. Smooth out the shaving cream with your popsicle stick or piece of cardboard so you have a flat surface to work with. (This step doesn’t have to be perfect, focus on have fun moving the shaving cream around!)
3. If you’re using food color: Squeeze as many drops of colors onto your shaving cream as you’d like!
If you’re using liquid watercolor: Either by using the pipette or straw, transfer small amounts of liquid watercolor to your shaving cream. If you’re using a straw, place one end into the watercolor, put your thumb over the top of the straw, and then lift. The watercolor will stay in your straw! Release your thumb when you’re ready for the watercolor to drip out of the straw and onto the shaving cream.
What happens to the colors after you drop them on top of your shaving cream? Does it sink in the foam or stay on top?
4. Take your fork and swirl the top layer of your shaving cream. Have fun with this!
What are the different ways you can swirl your shaving cream?
5. When you’re happy with how your swirled colors look, place a paper gently on top of your shaving cream, then smooth it with the tips of your fingers until the entire paper touches the shaving cream.
6. Carefully lift your paper from the shaving cream. Move it to your newspaper station and lay it flat with your colors and shaving cream facing up. Take either your popsicle stick or piece of cardboard and scrape off the excess shaving cream from the paper. (You may need someone’s help holding down your picture while you scrape!)
7. Lay your artwork out to dry in a safe spot. Repeat this process with the same shaving cream, just add more watercolor/food coloring. Experiment by using other stirring tools that you can find around the house!
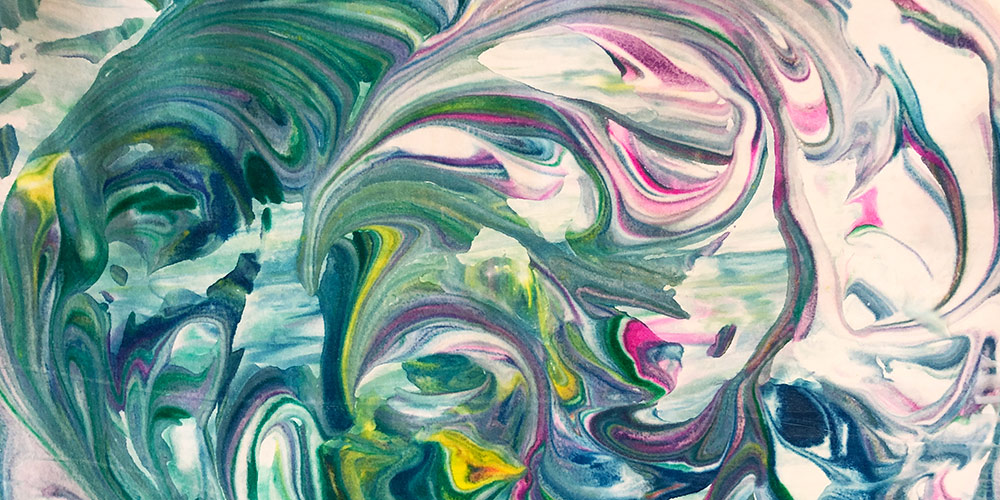
Notice how the liquid color you used stayed at the top of your shaving cream allowing you to swirl it around.
Shaving cream is made up of soap, water, and gas. Soap is made up of a molecule that has a water-attracting end (hydrophilic) and water-repelling end (hydrophobic). The liquid color that you used attracts water (hydrophilic).
Furthermore, the liquid color can only interact with the water-attracting end of the molecule, as the other end repels it. That’s why your colors seem to stay at the surface of your shaving cream, instead of fully sinking in and spreading out.
Additionally, the molecules that make up paper are hydrophilic. That is why the liquid colors you used soaked easily into the paper, allowing you to transfer the marbled pattern you made in your shaving cream to your paper.
Not only did you make really great art, but you also learned some great scientific words to sprinkle into your next conversation! We would love to see your art. Be sure to share it with us. You can find us on Facebook, Twitter, and Instagram. Use the hashtag #playalongsd or you can send us an email at info@prairieplay.org.