Techniques to Up Your Homemade Card Game

Back

Techniques to Up Your Homemade Card Game

February 2, 2021

Share This
Share This

Make Someone's Day!

Discover three creative ways to upgrade your next handmade cards.

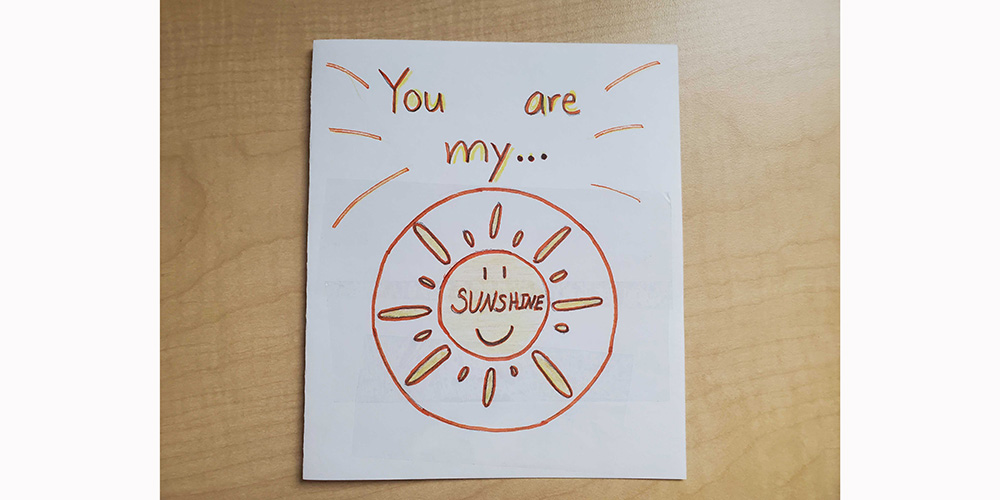
Sending a homemade card in the mail is a wonderful way to let your friends and loved ones know that you’re thinking of them.

Read on to discover 3 unique techniques that you can use to add extra personalized touches to your beautiful homemade cards.

Technique 1: Secret Message Scratch and Reveal

What you’ll need:

  • Construction paper 
  • Crayons, markers, or colored pencils 
  • Clear packaging tape  
  • Acrylic paint 
  • Liquid dish soap 
  • Paintbrush  
  • Small paper cup or something to hold paint 
  • Scissors 
  • A table covering to protect your workstation 
  • Pencil  

Directions:

  1. Fold a piece of construction paper in half to create a card, then draw a simple shape on the front or insideWrite or draw a special message inside the shape. This could be an answer to a riddle or joke, positive words, or a picture.
  2. Next, cover the shape with clear packaging tape. It’s perfectly fine if tape also covers the area around your shape as well, no need for precision!  
  3. Now, mix equal parts acrylic paint and liquid dish soap in a small paper cup  
  4. Use a paintbrush to carefully fill in the shape and cover your hidden message, this may require two to three layersLet the paint dry completely between layers.   
  5. When the paint is completely dry and has set for at least an hour, it is ready to be delivered! Make sure the recipient has something to scratch the paint off revealing your secret message!  

Technique Two: Bubble Printing

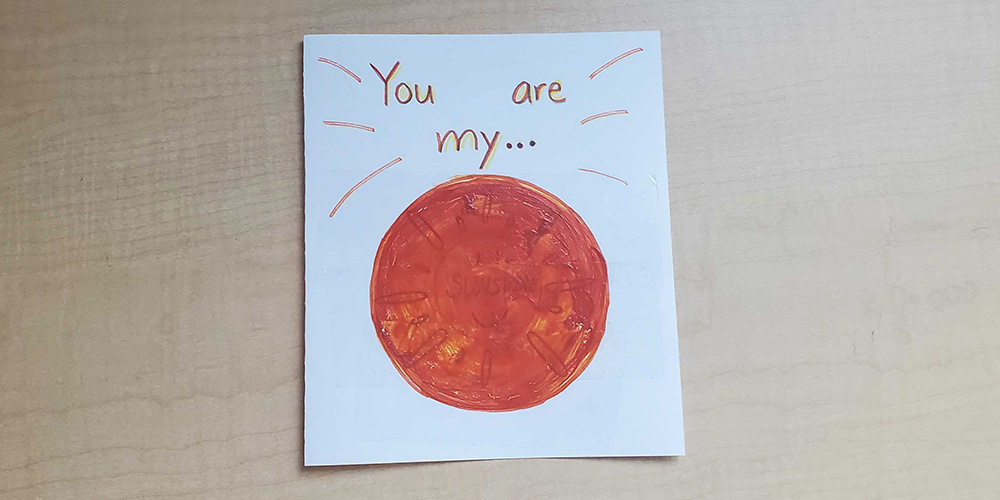
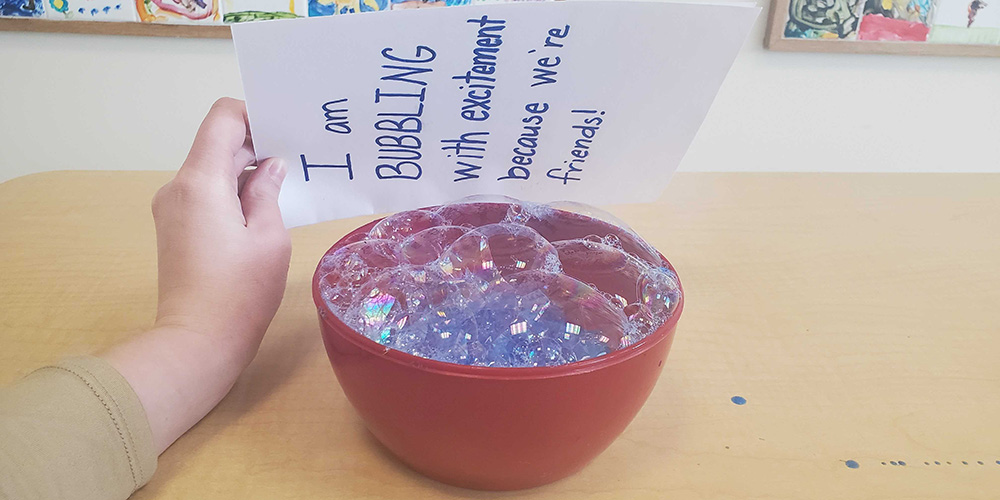
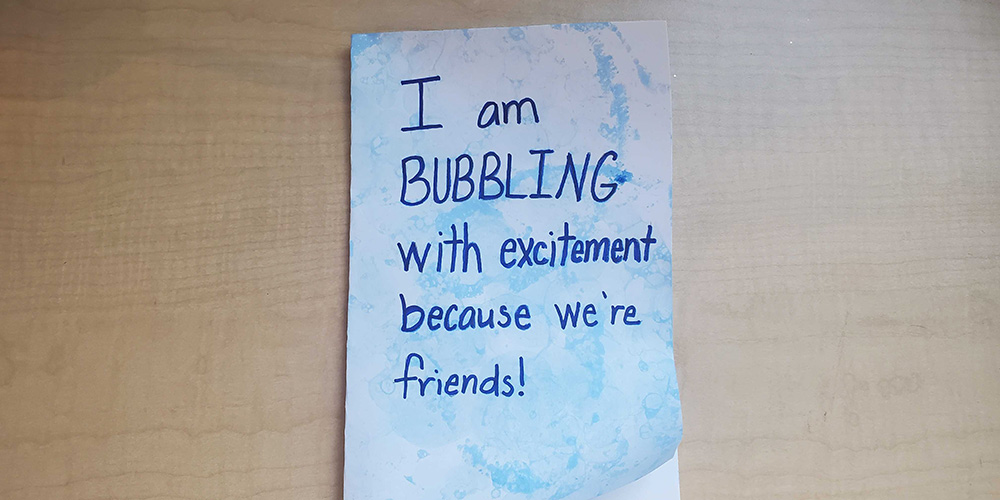
Bubbles are fun to play with no matter how old you are, and they can also make beautiful prints.  

What you’ll need: 

  • Construction paper 
  • Crayons, markers, or colored pencils 
  • Small plastic containers to hold paint solution 
  • Tempera paint OR liquid watercolor OR food coloring 
  • Liquid dish soap  
  • Water 
  • Straws 
  • A push pin 
  • Small pieces of thick paper   
  • A covering to protect your work surface 

 Directions:

  1. Fold a piece of construction paper in half to make a card, then decorate.   
  2. Add a generous amount of paint, watercolor, or food coloring into a small container. Then add a couple of drops of liquid dish soap.
  3. Next, fill the container about ¾ full of water.   
  4. Carefully punch a hole near the top of a straw with a pin. This will make it so that it is easy to blow into the straw, but difficult to suck anything up. This will help children not accidentally drink the paint solution, though it is important to remind them not to before beginning the activity.  
  5. Place the end of the straw into the paint solution and blow until bubbles form a dome over the container. Remove the straw and place a piece of paper over the bubbles to create a print.  
  6. Set your work in a safe place to dry. Then, give it to a friend or loved one!

Technique Three: Mini Flip Book

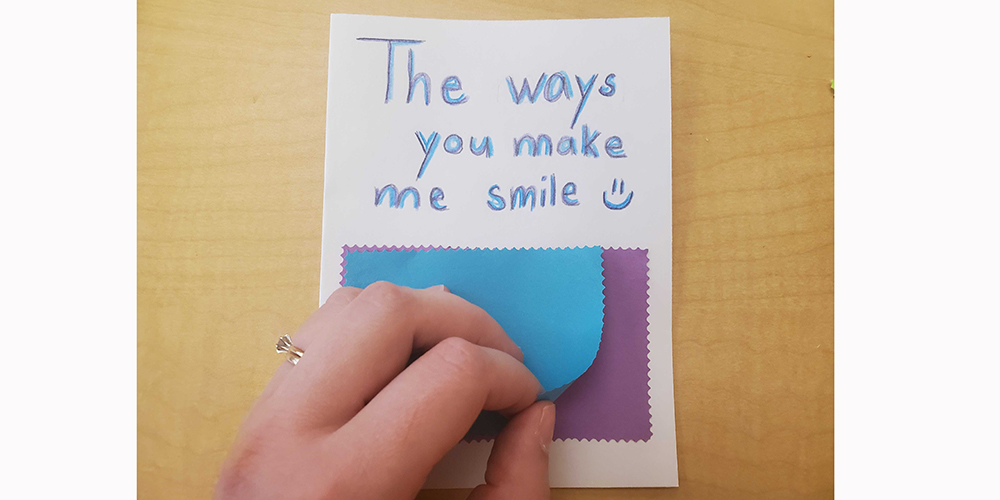
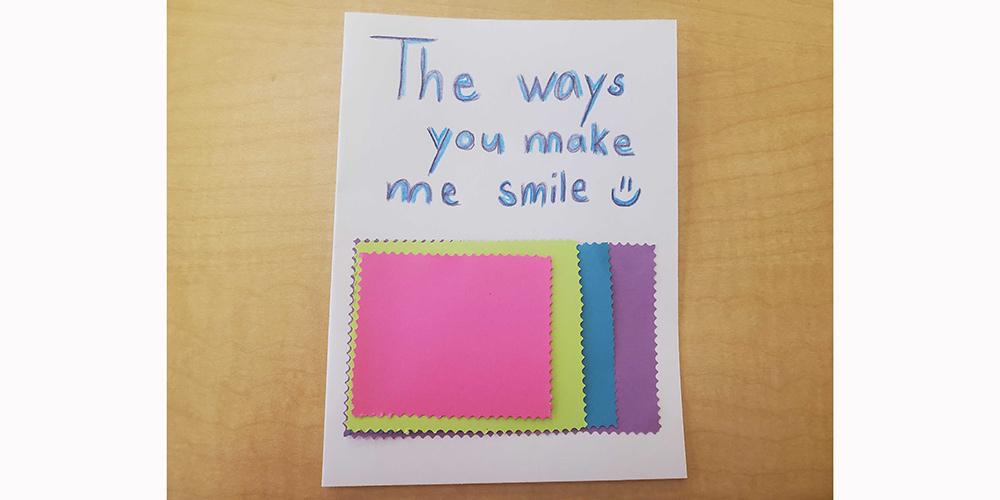
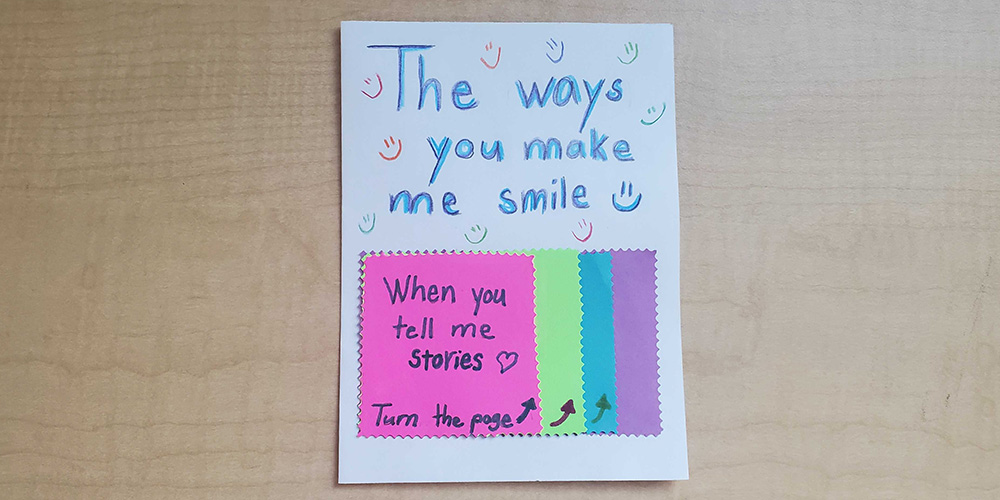
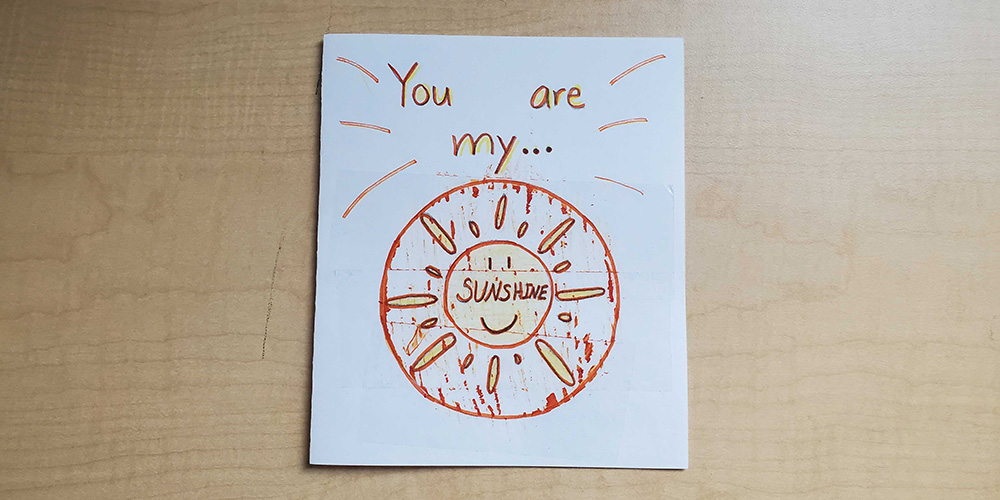
Build a mini flip book filled with hidden messages for your friends and family to discover 

What you’ll need: 

  • Construction paper  
  • Crayons, colored pencils, or markers  
  • Scissors  
  • Glue  
  • Ruler  
  • Pencil  

 Directions: 

  1. Fold a piece of construction paper in half to form a card. Then cut out a large rectangle and attach it to your card.
  2. Next, cut a rectangle the same width as the first, but shorten the length a bit to create a second tab. Glue the right edge of the second rectangle onto the first so that it is attached but still able to flip over. Repeat this process until you have created your desired number of tabs  
  3. Add a special message or drawing under each tab!
This program was developed by the Children’s Museum of South Dakota with grant funding through the South Dakota Humanities Council and the National Endowment for the Humanities.